I’m glad the dead matches were there. They’re exactly the right size for getting ink out of the tube lids! The sky will be watercoloured in later.

I’m glad the dead matches were there. They’re exactly the right size for getting ink out of the tube lids! The sky will be watercoloured in later.


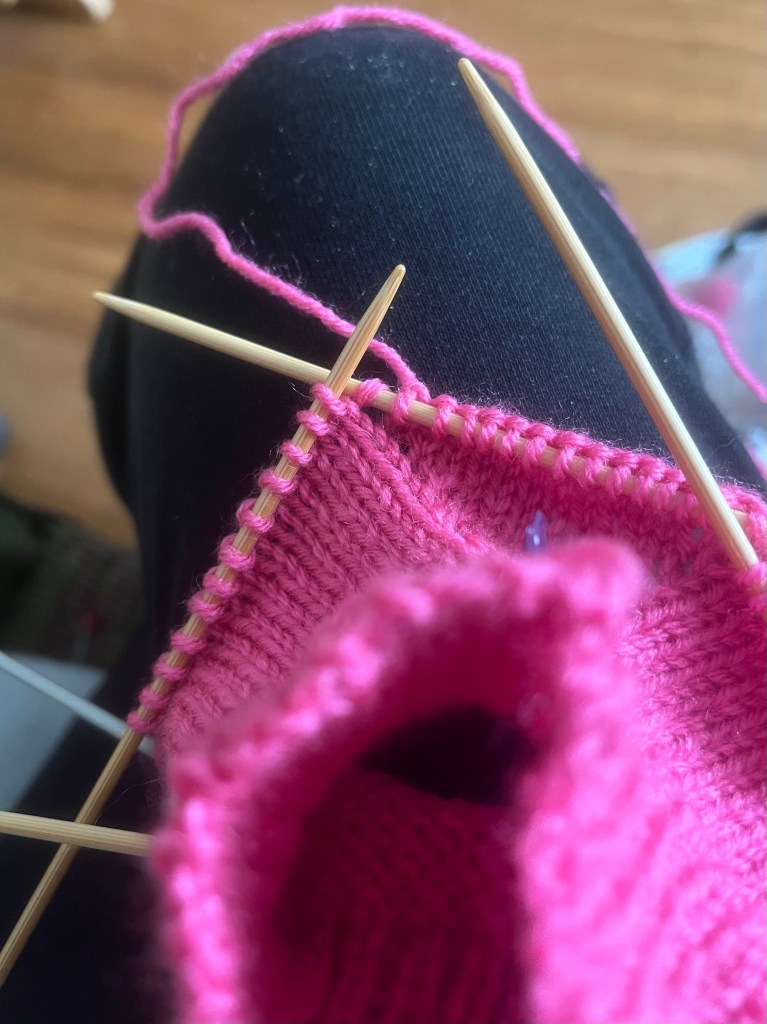
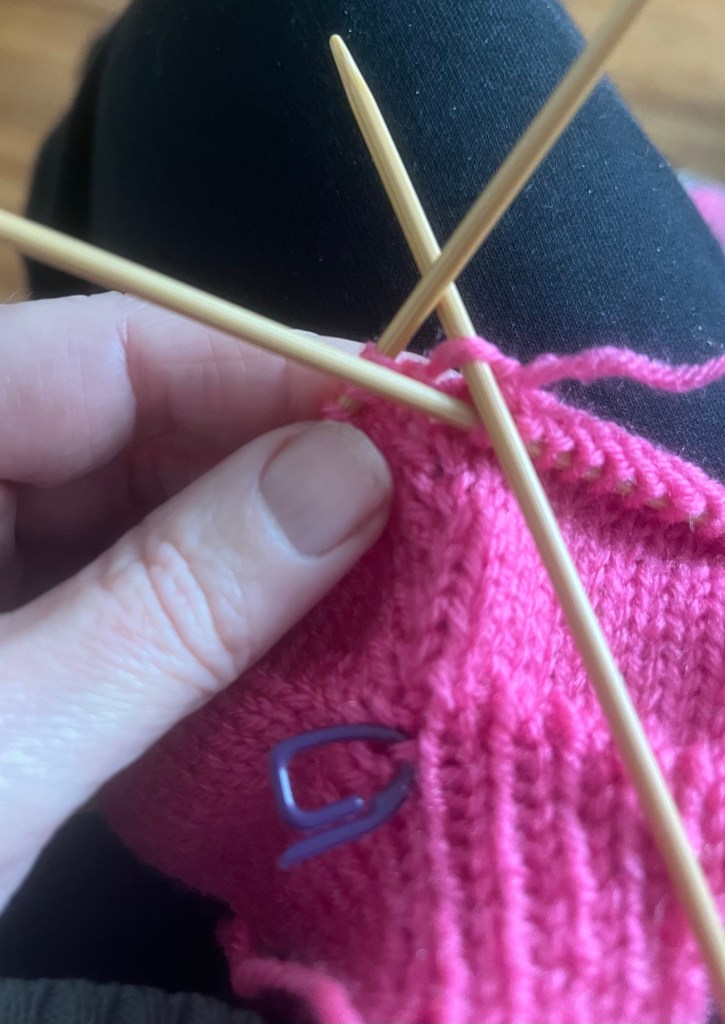
Sometimes people ask how I made the pattern on the crown of the hat. It’s made (accidentally) by decreasing the number of stitches. Most written patterns say K2tog, knit two stitches together. That gives the hat the ridges as the circle becomes smaller towards the top of the head.
There are other methods. SKPO (slip one stitch onto the right hand needle, knit one then pass the slipped stitch over the knitted one) gives a ridge leaning the opposite way to k2tog. In theory, slipping two stitches knitwise then knitting them together as in the photo above will give a tidier result.
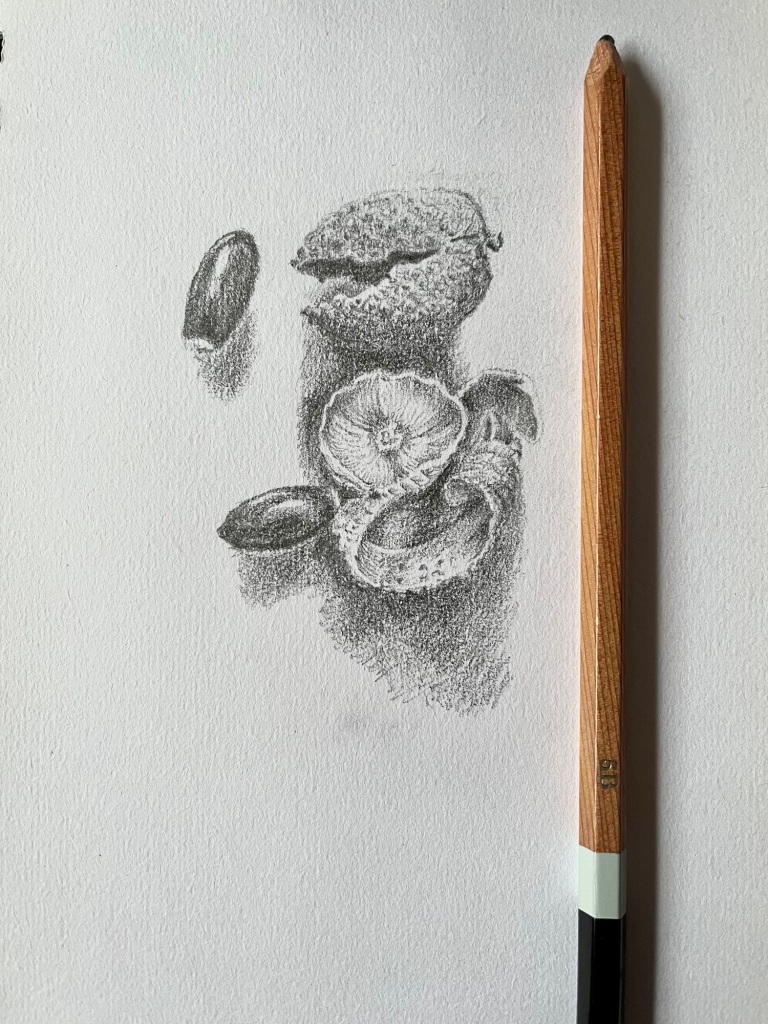
Valentine’s Day, so here is a pencil drawing of two hearts of stone.
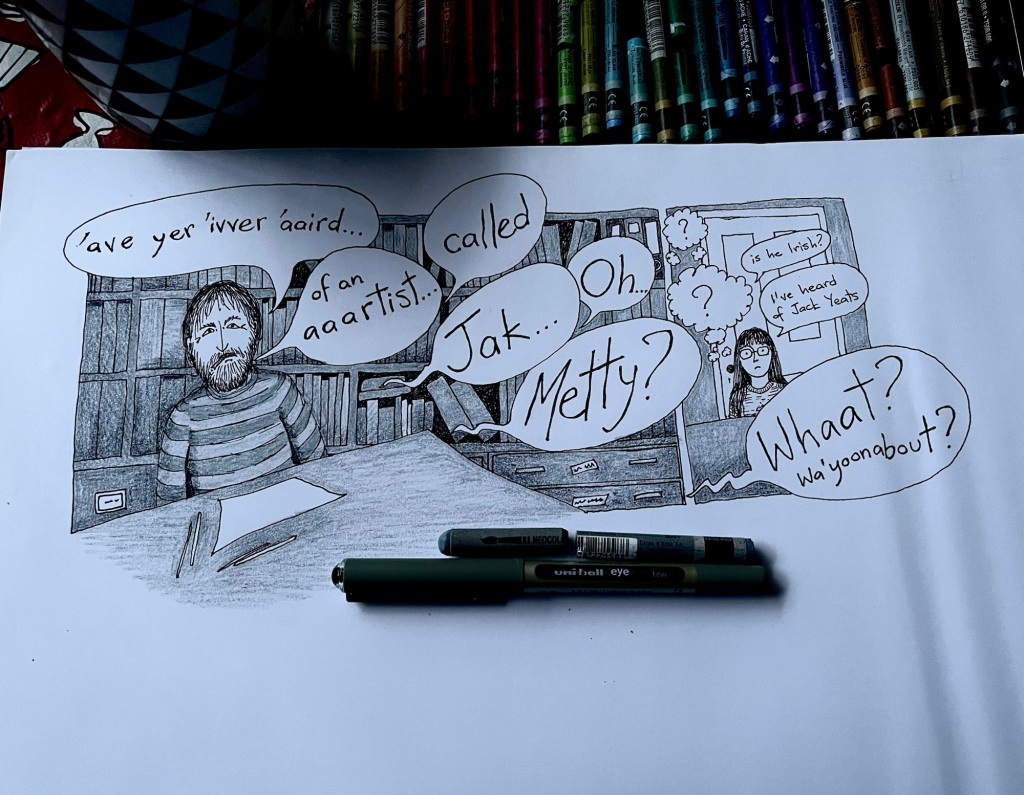
Typical tutorial, a chat about the artists I *should* admire. Any artists I *did* admire were allegedly not the correct choices.
I was often advised to look at works by Sidney Nolan. Why? Is it helpful to keep telling people to research the same stuff constantly?
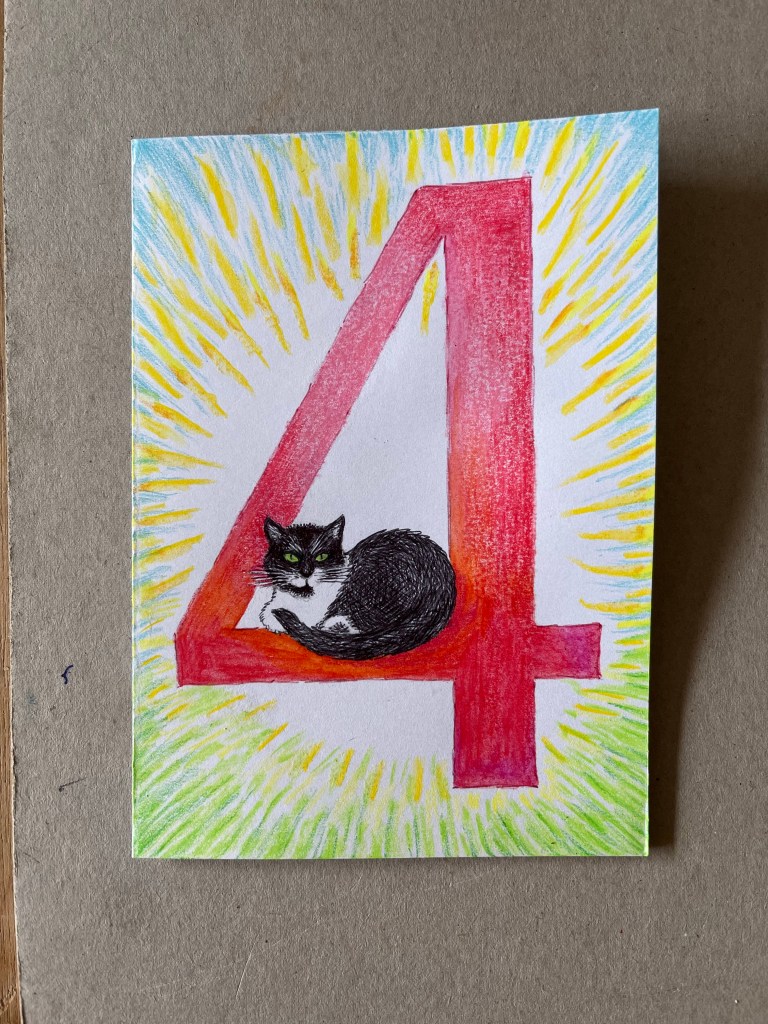

Recent drawings on greetings cards for various life events. Mixed media, Bic Cristal biro (black and green) with watercolour crayons. The cat sitting on a hill is near some wild garlic, which has been given darker green foliage since the photo was taken. I wondered why Ramsbottom is called that, or which other names were considered at that meeting. A bit of etymological reading suggested ransoms and the bottom of a hill. Wild garlic valley, obviously.
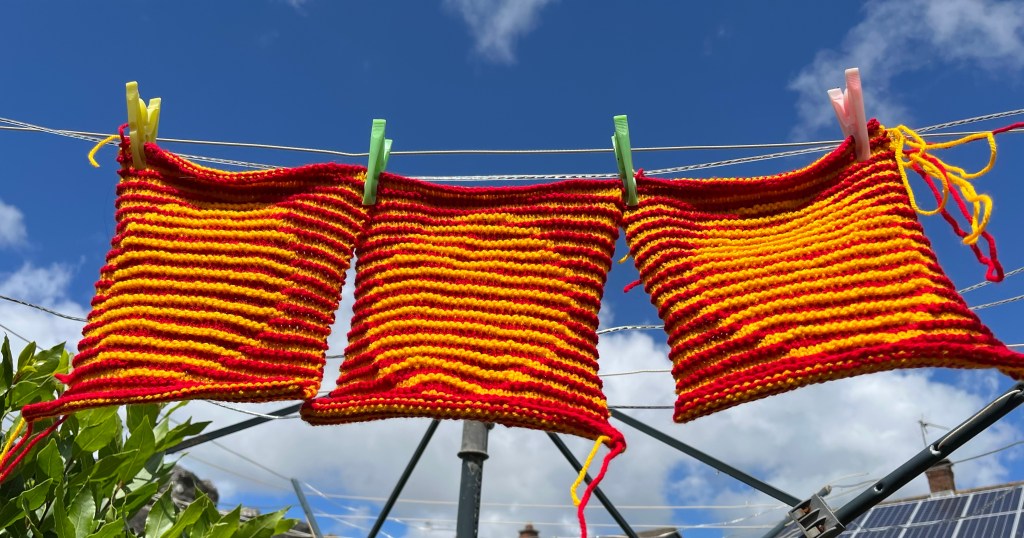
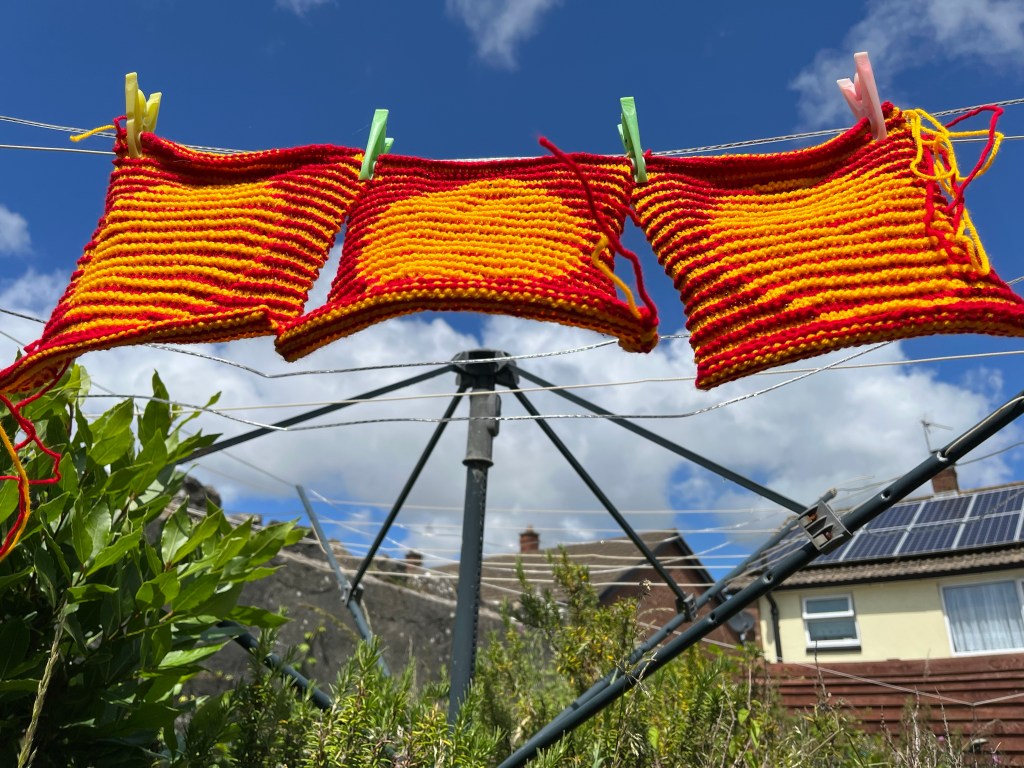
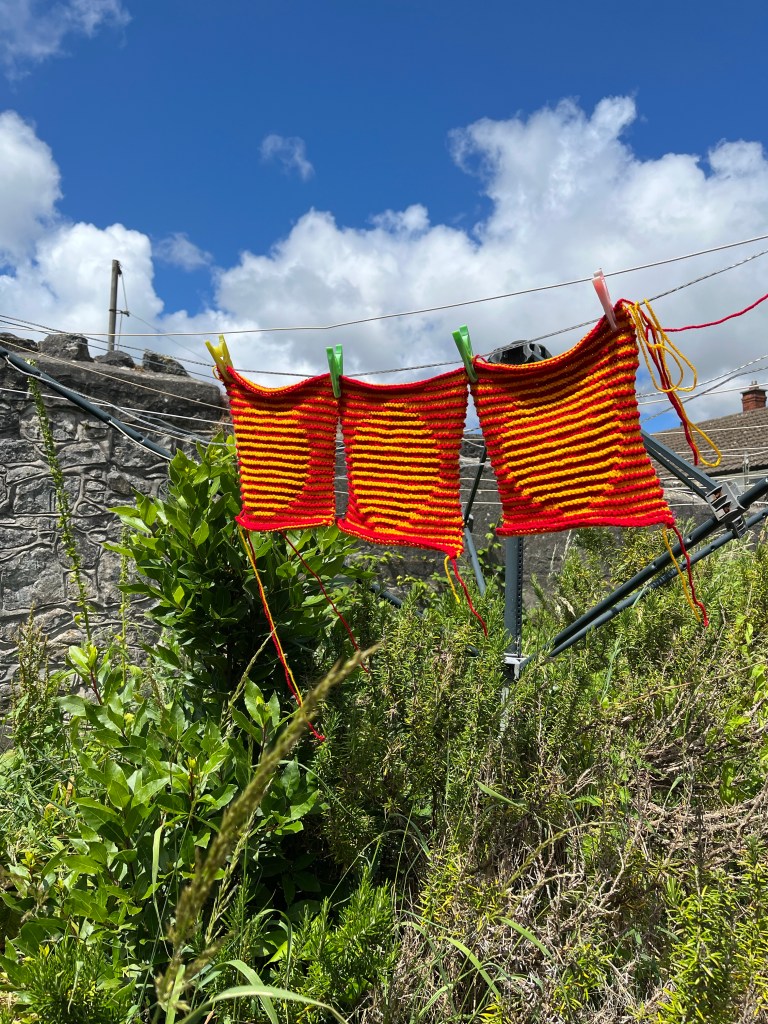
Knitted stripes, or ridges of two rows each. Using dark and light yarns and knit or purl stitches, an illusion of a circle in a square. This is the easiest pattern in an article about illusory knitting, but I like it anyway.
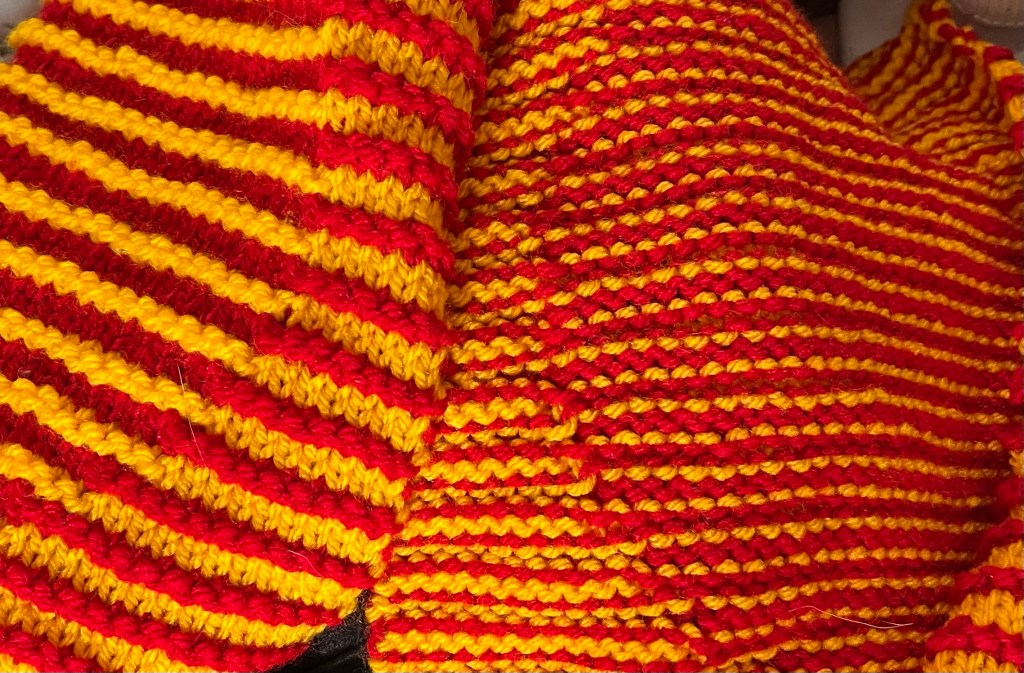
Cameras never lie, mine won’t show the red and yellow stripes in the way they’re visible to me.
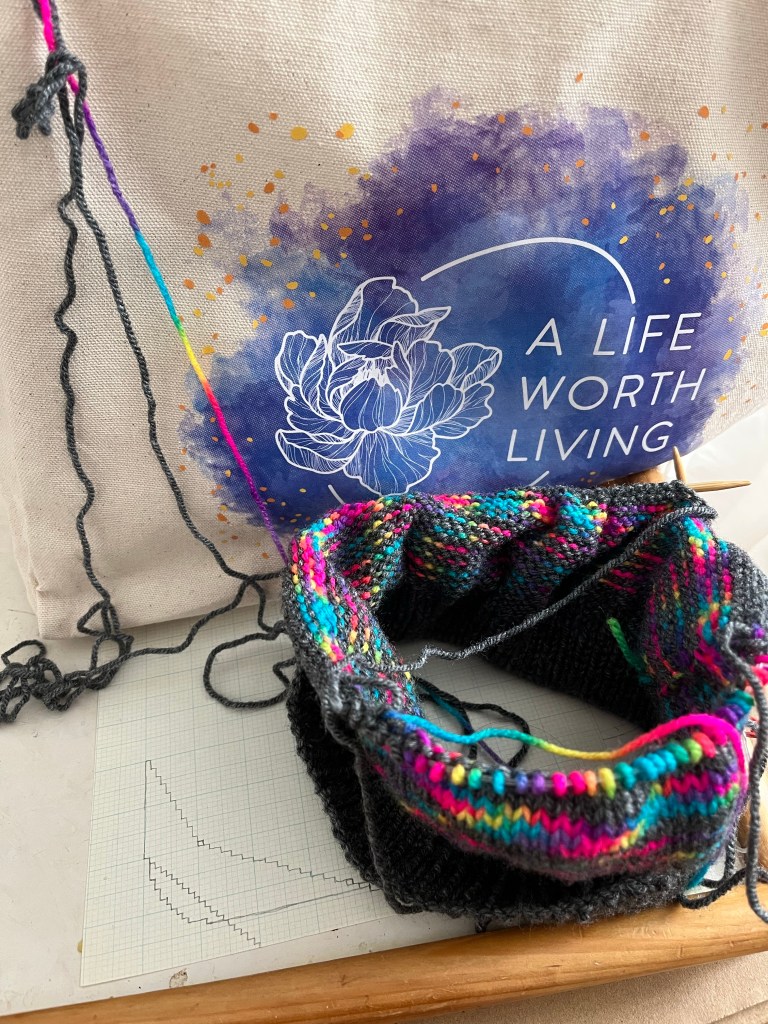
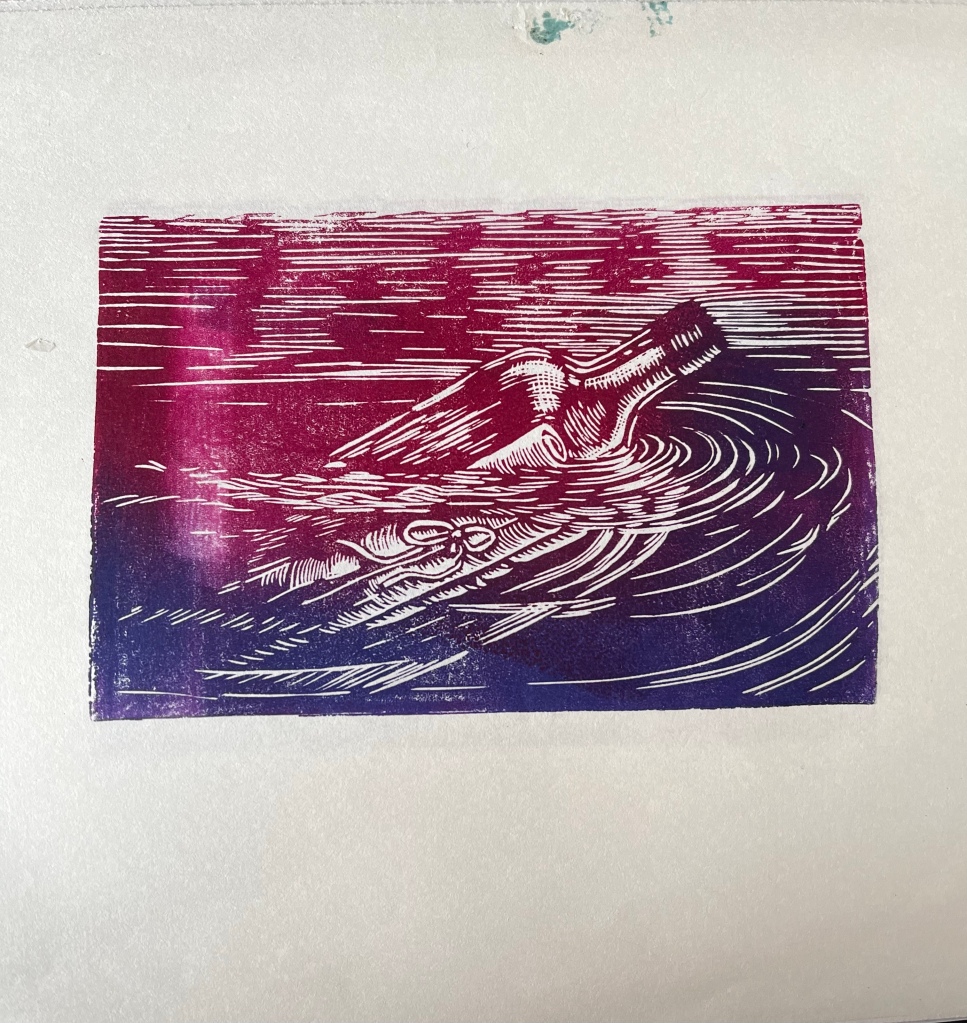
Knitting a spiral in the round seemed a good idea when it first appeared. I forget that it’s possible to knit in both directions while knitting a tube, so it might work. Using yarn from both ends of the grey, with the rainbow stuff in the middle. Nice reminder of how the ink looked on a zinc lithography plate before printing.
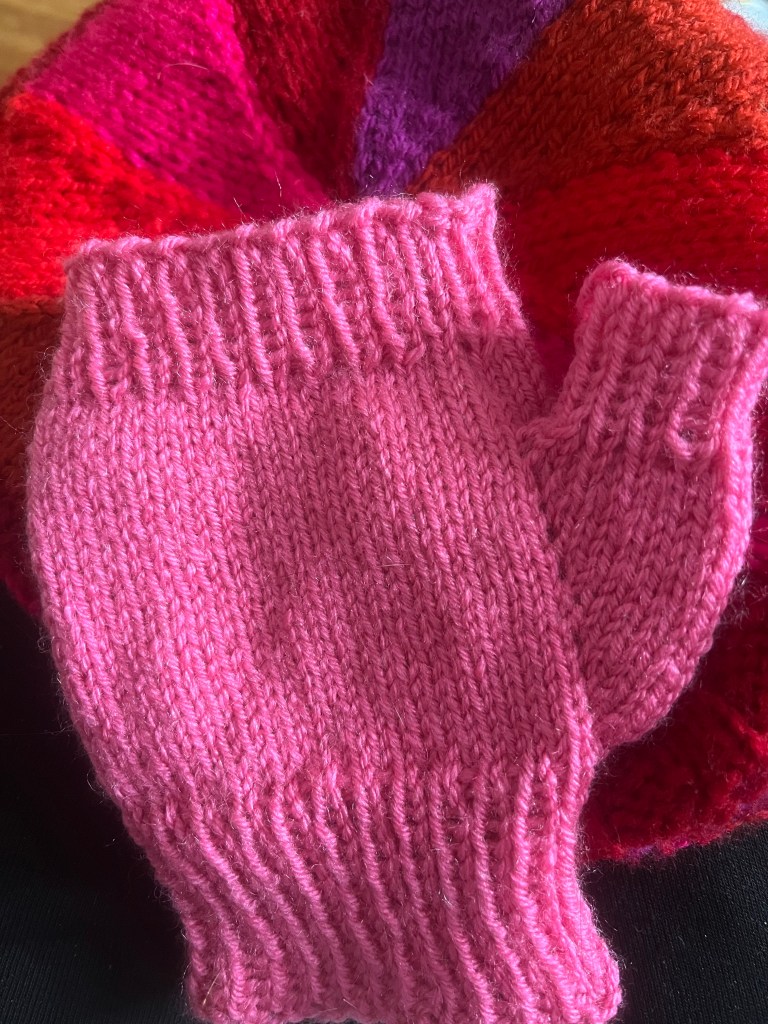
Took photos because I always have to ponder where the needle picks up the yarn for an increase.


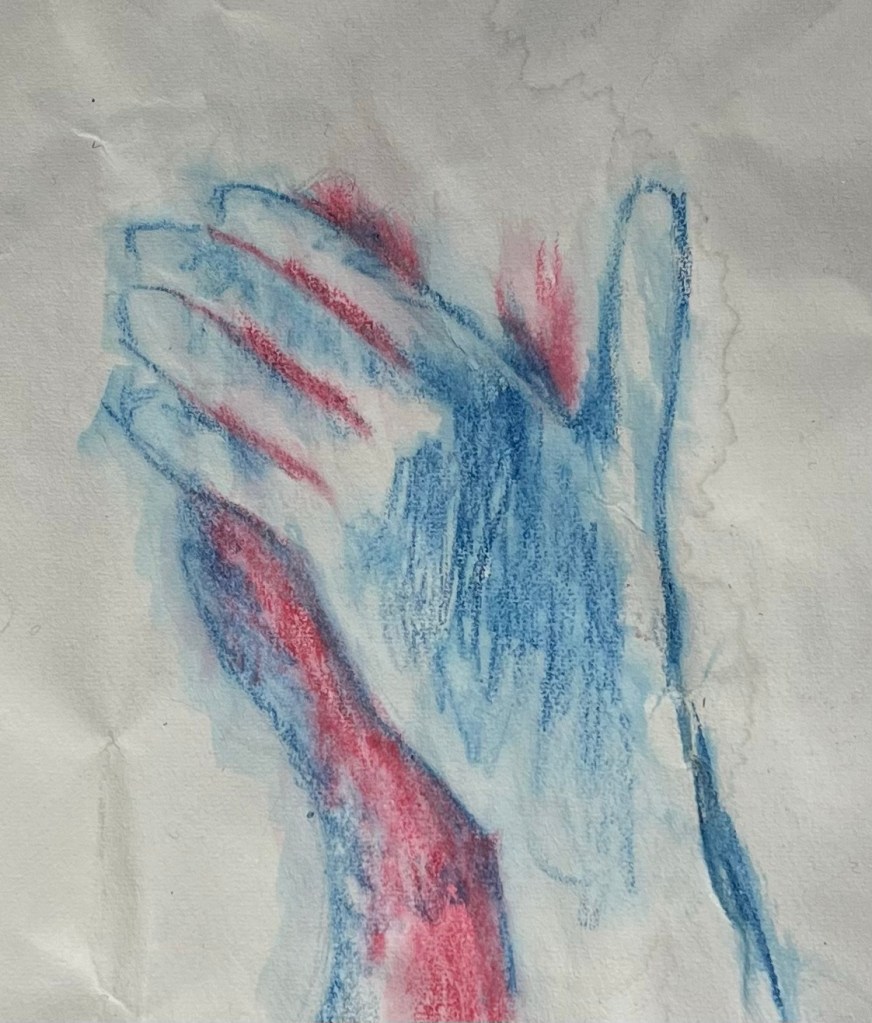
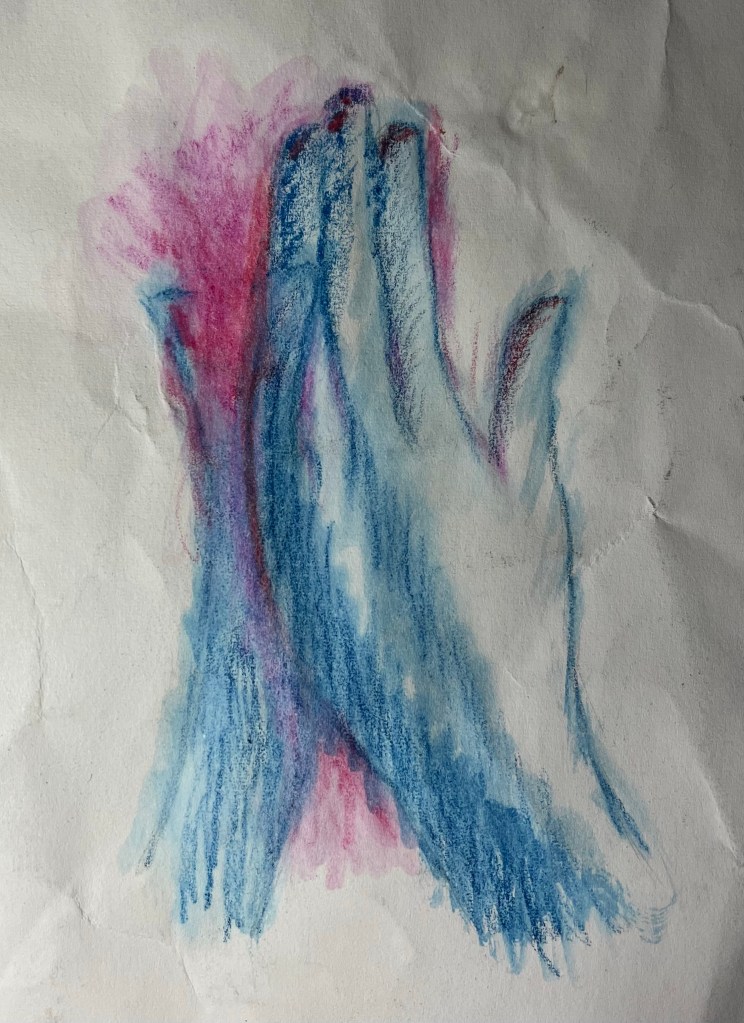
I sketched a few pairs of hands, thinking maybe one of the sketches would summarise the warped conditions of various workers.